Sit & Make: Data In

Enough talk, let’s build some stuff. This post is all about getting my hands dirty by wiring and testing the physical component of Sit & Make.
Wiring (and Soldering)
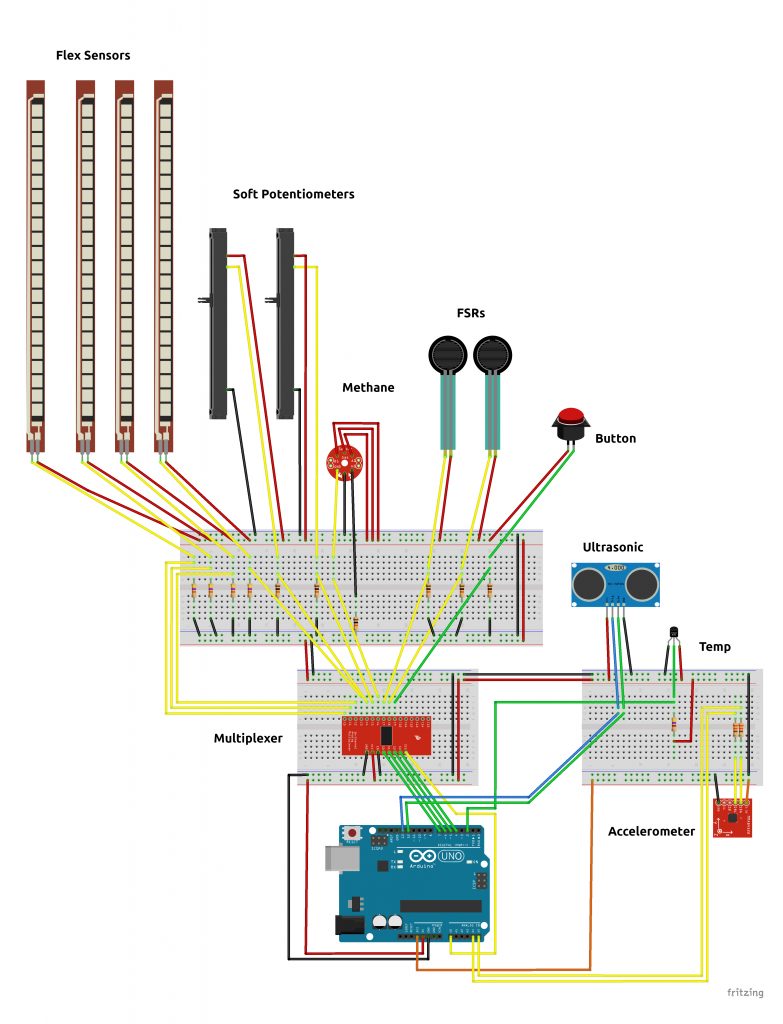
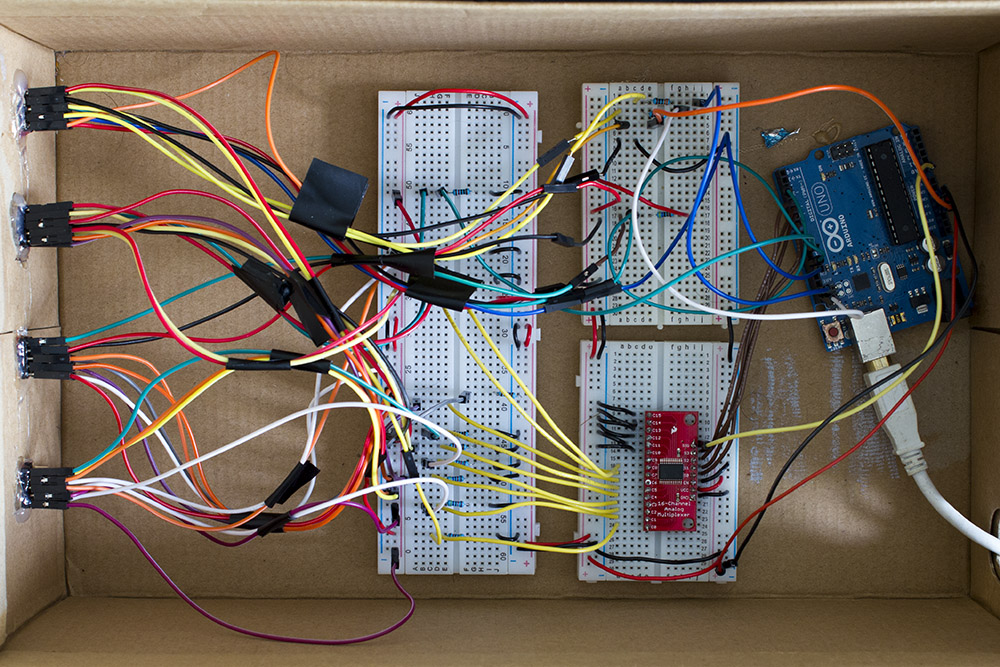
When I received the sensors, I immediately noticed that the number of analog inputs required to connect all the sensors (11) was more than the number available on the arduino (6). In order to access all of the analog components, I had to use a multiplexer. A multiplexer works by connecting to four digital outputs from the arduino to gain access to 16 more inputs. You send a 4-bit number via the digital pins to call which of the 16 inputs you want to access. If you access each of the 16 inputs per loop, you can access all of them in real time.
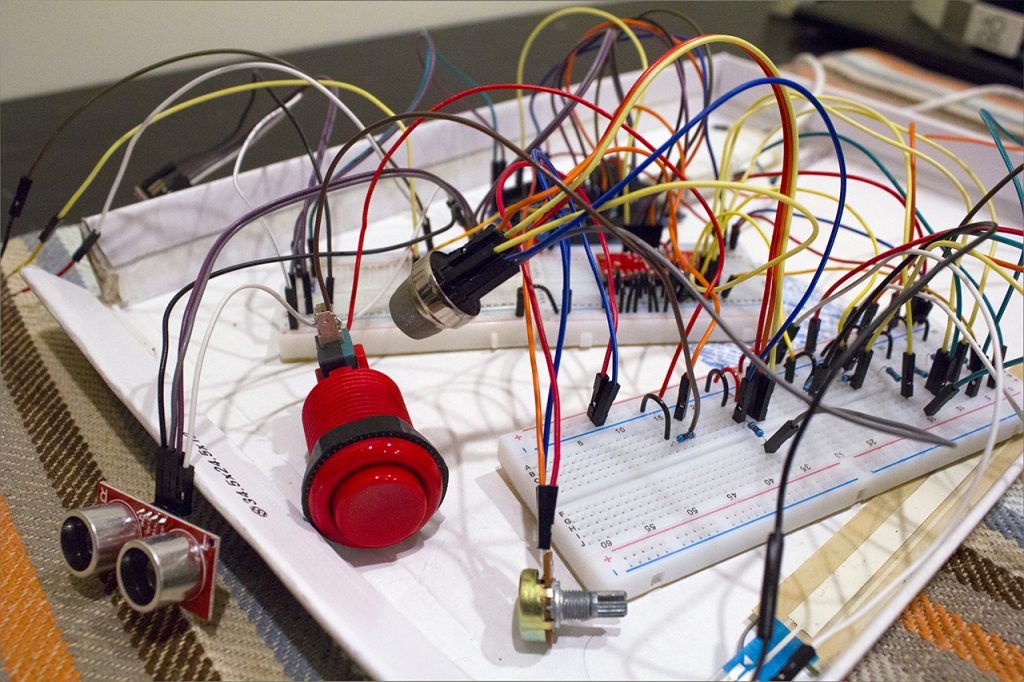
Once I had the multiplexer, I connected all of the sensors to a few breadboards to test on the arduino. In addition to the sensors in the last post, I also decided to include a button that the user could press to generate the design.
Coding (and Separating)
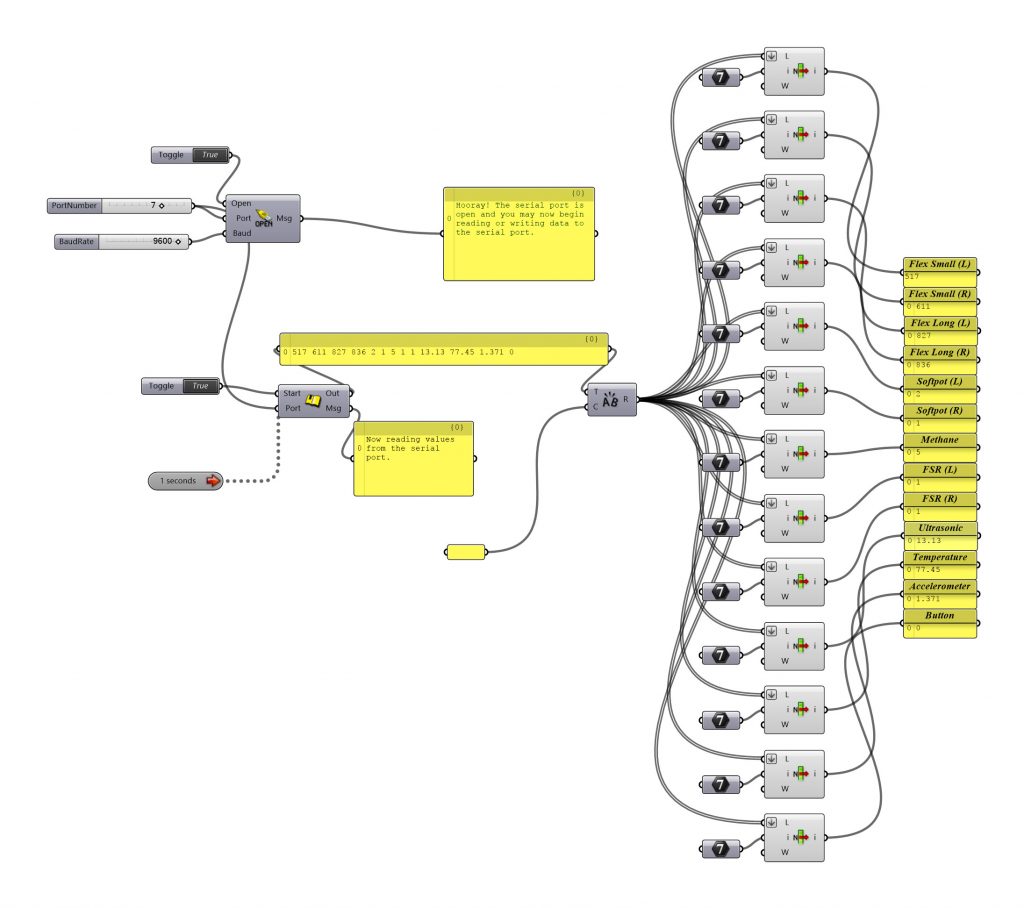
The second problem was that the accelerometer used special inputs on the arduino (SDA & SCL). Unfortunately, the firefly component for reading the Arduino Uno values only supported 5 analog inputs and 4 digital inputs. In order to get data into firefly, I have to write the sensor data to the serial port and use the serial read component in firefly and refactor it in my firefly sketch. Here is the Arduino Sketch that updates the sensor value each second and writes it to the serial port.
The data is taken from each of the sensors and gets written into the serial port as one long string, separated by spaces. In order to use the data, I had to separate the individual sensor values in firefly. After bringing the data into firefly, I used the divide string function to break up the output and created a list of values for each of the data points. I then pulled the corresponding sensor value from the list.
Attaching (and Connecting)
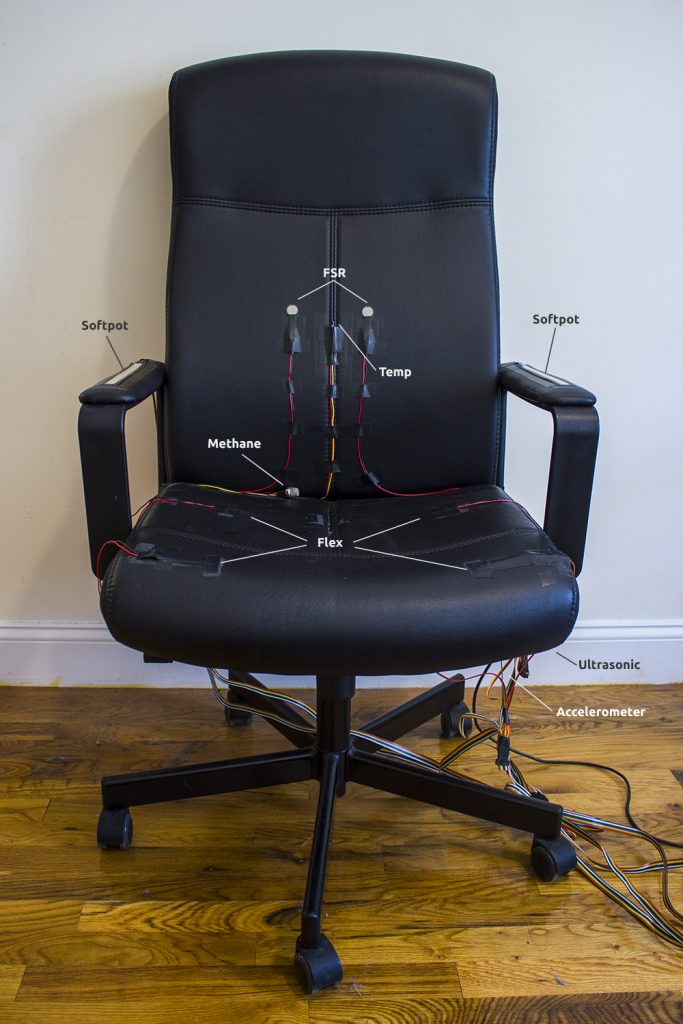
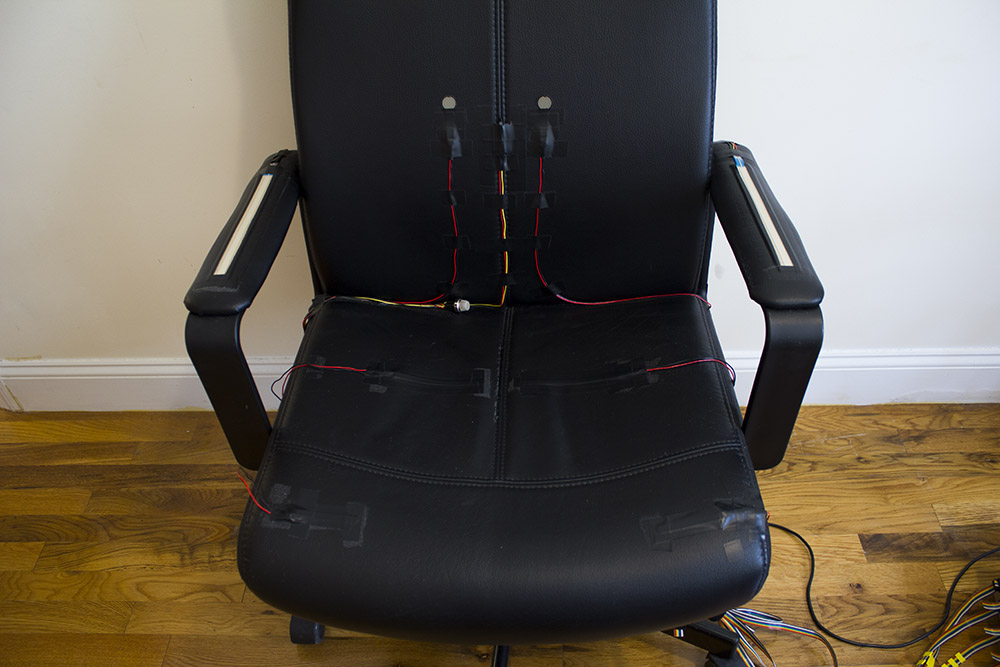
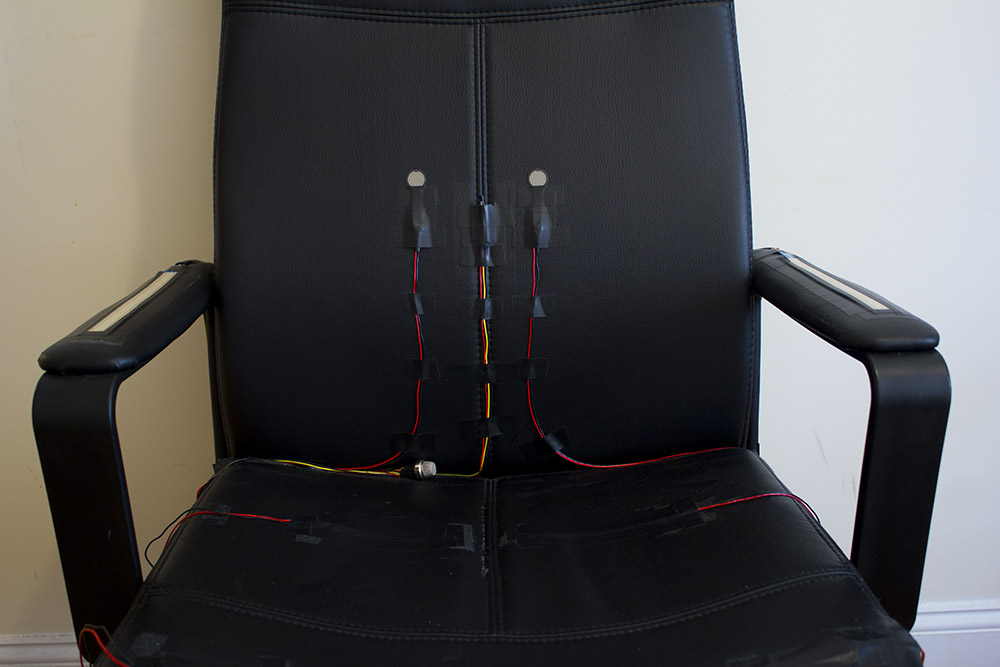
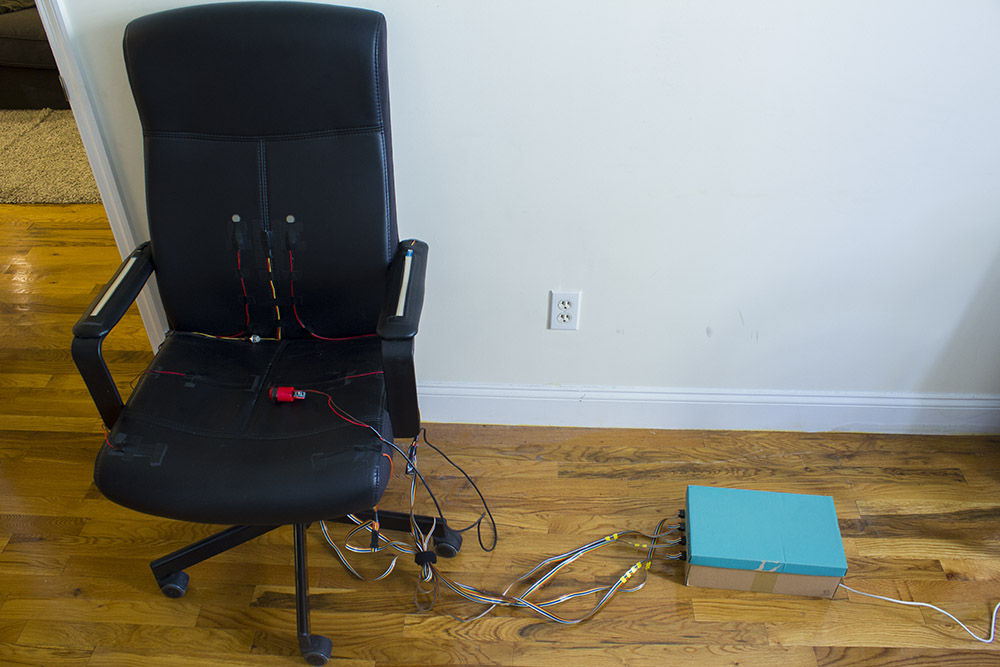
After testing the wiring and code, the last step in Sit & Make’s physical portion is attaching the sensors to the chair. I had to find the best place for each sensor on the chair to optimize its measurement while being careful not to create something that was unappealing to sit on. Here is a breakdown of where I placed each sensor and why.
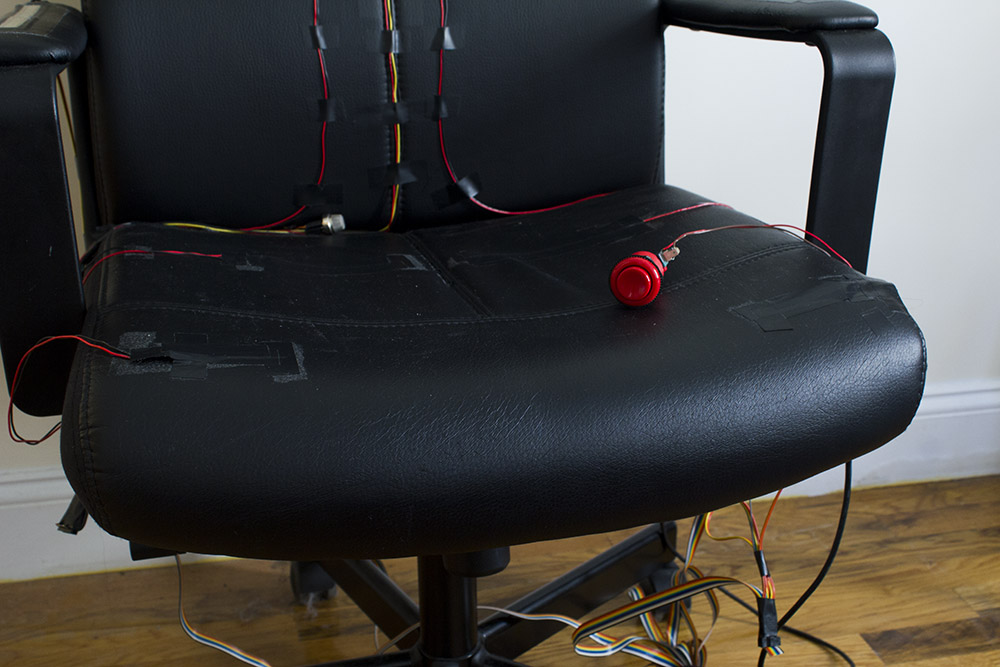
- 2 x Force Sensitive Resistors – Back Rest I felt that the FSRs were ideal for sensing how much someone lean’s on a chair since that is where they place the most pressure
- 4 x Flex Sensors – Seat The seat cushion is the softest part of the chair and the flex sensors provided me an ideal way to measure its deformity.
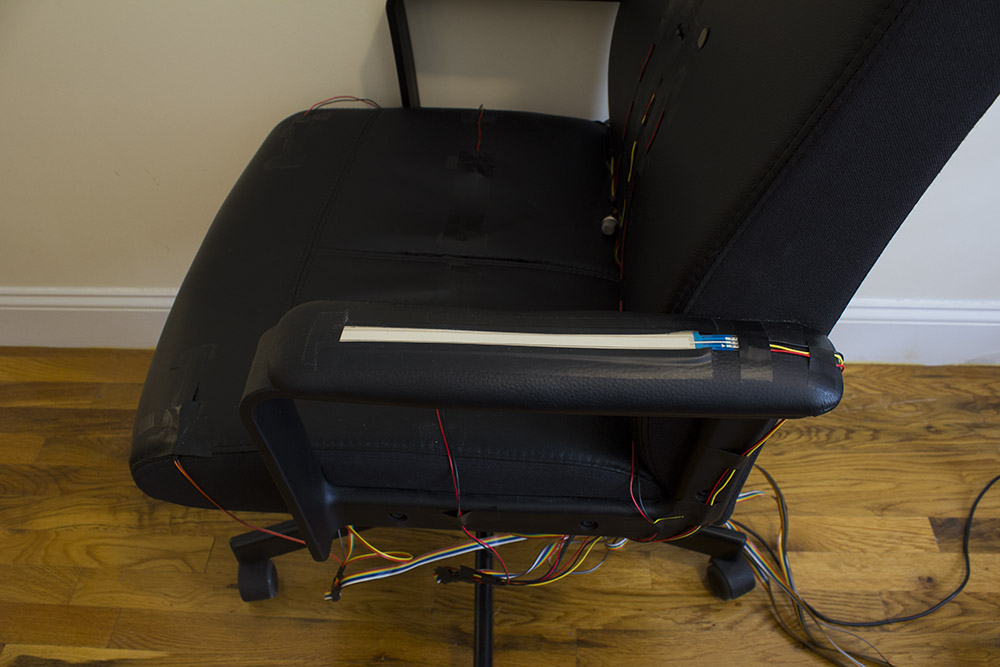
- 2 x Soft-Potentiometer – Arm Rest The soft pots help measure where someone is touching along their lengths. The arm rests were a good match as each individual uses the armrest in different ways.
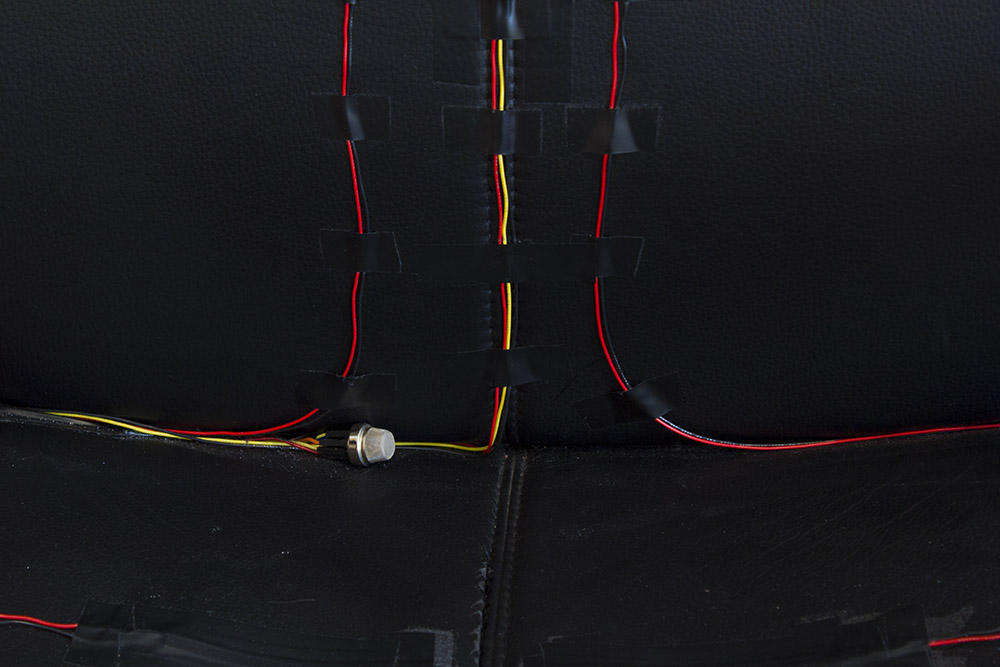
- 1 x Temperature Sensor: I could have placed this in a large variety of locations but in the end settled on an area where there is the most variety in the amount of contact and length of contact that someone has with the chair; the middle back. People either lean back completely on the chair or lean forward or a mix of the two. The temperature sensor can help detect how long someone has made contact with that region since > contact means > temperature.
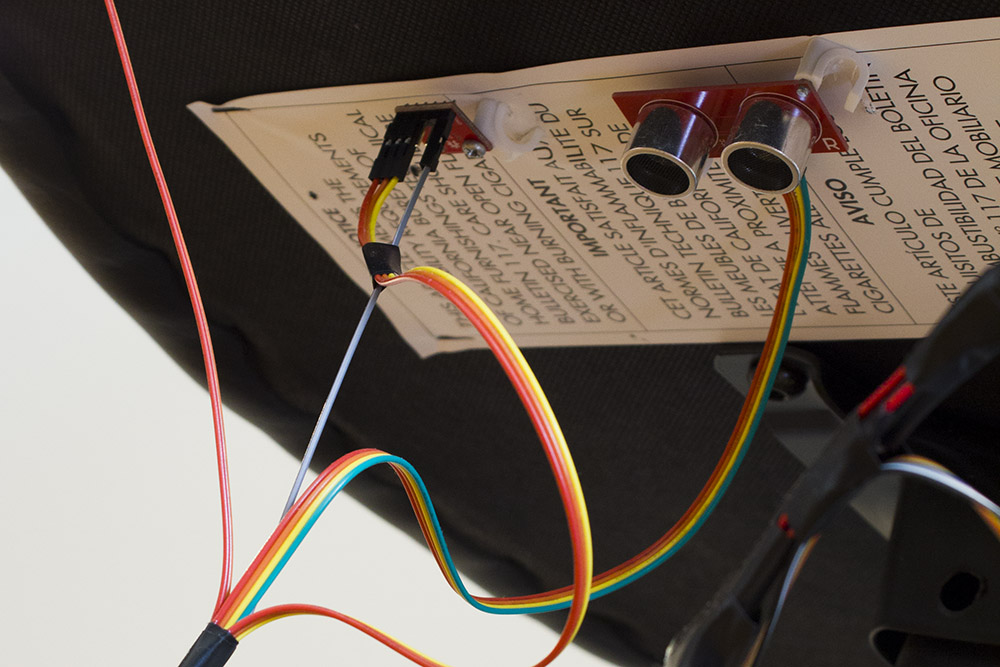
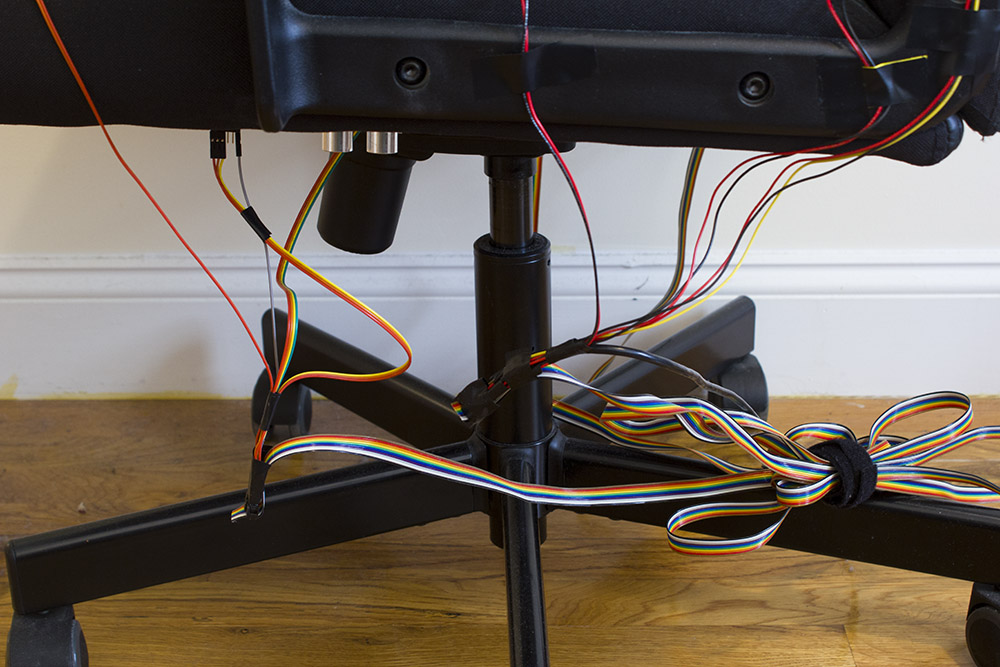
- 1 x Ultrasonic Sensor – Underneath the Seat The Ultrasonic sensor was a great way to measure how much someone raised or lowered the chair. The best way to do this was to have it sit underneath the seat and measure the distance to the floor.
- 1 x Accelerometer- Underneath the Seat I saw the accelerometer as a way to measure how “harshly” someone sat down on the chair as well as if they were swinging the seat around. Since it just had to be connected to the chair in order to measure the forces on it, I could hide it underneath and avoid some unsightly wires where someone sits.
- 1 x Methane Sensor – Back of the Seat The methane sensor was placed at the back of the seat, where it would be closest to the part of the body that produces the most methane.
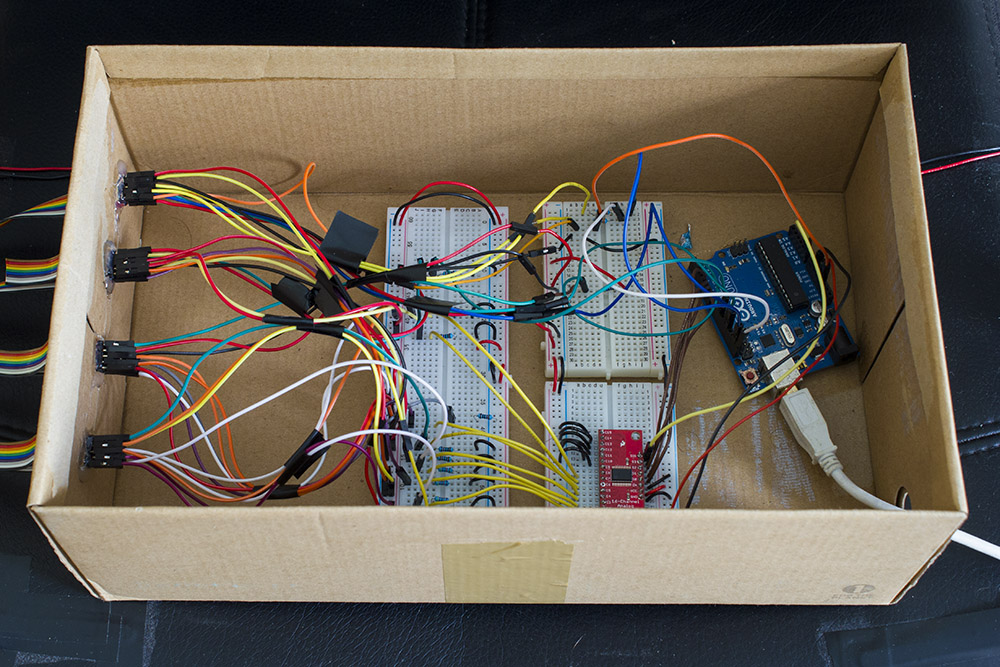
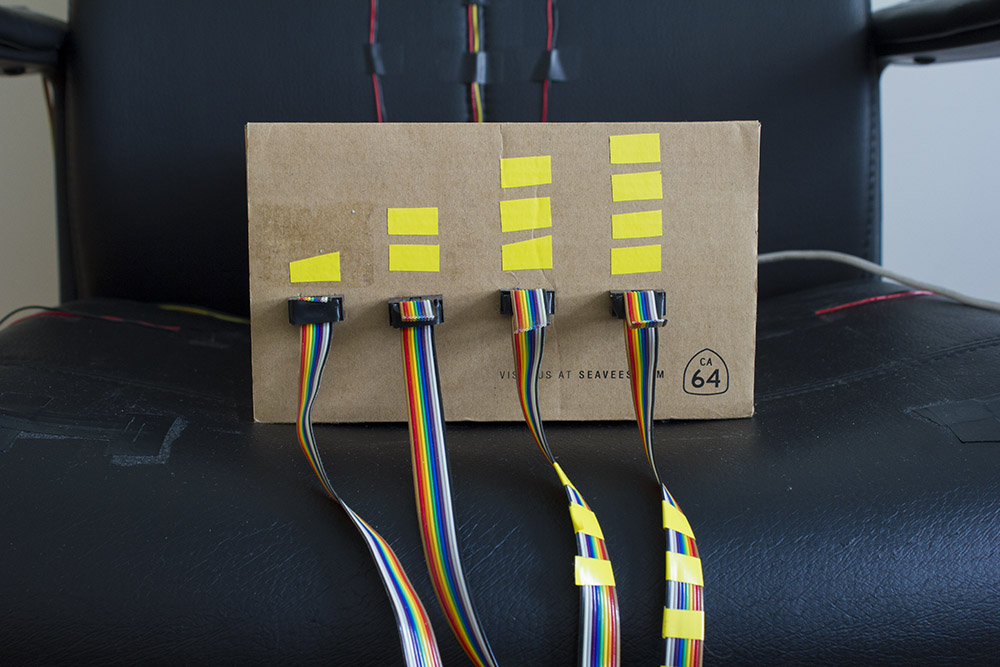
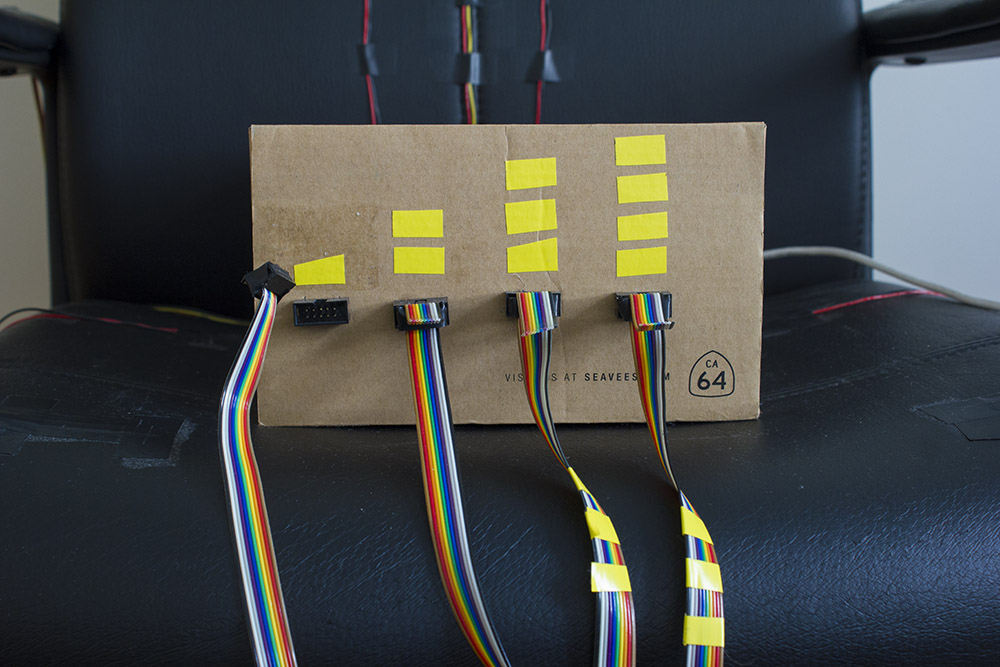
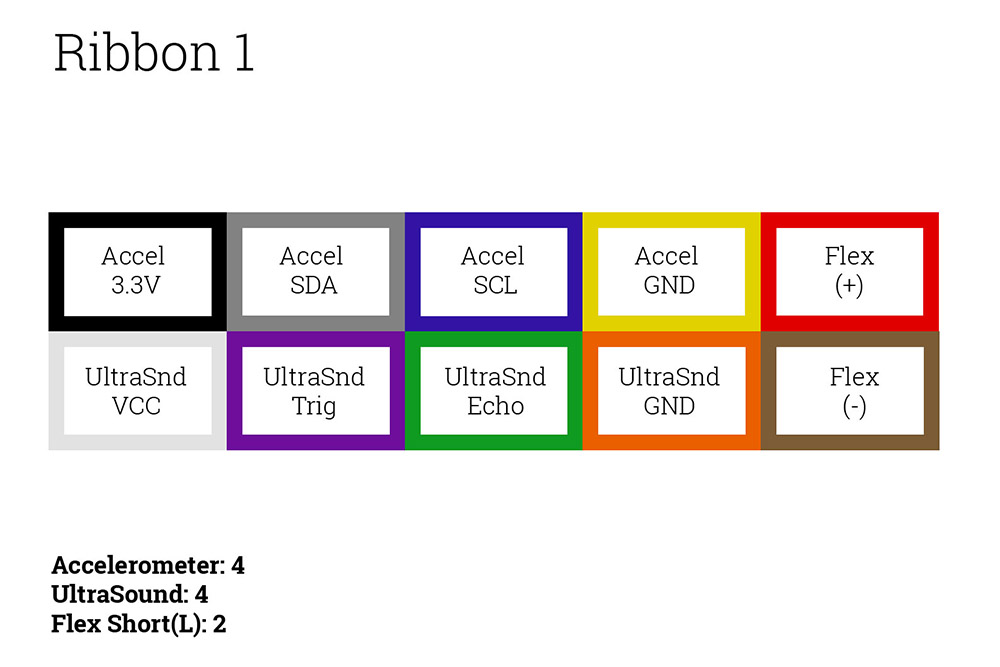
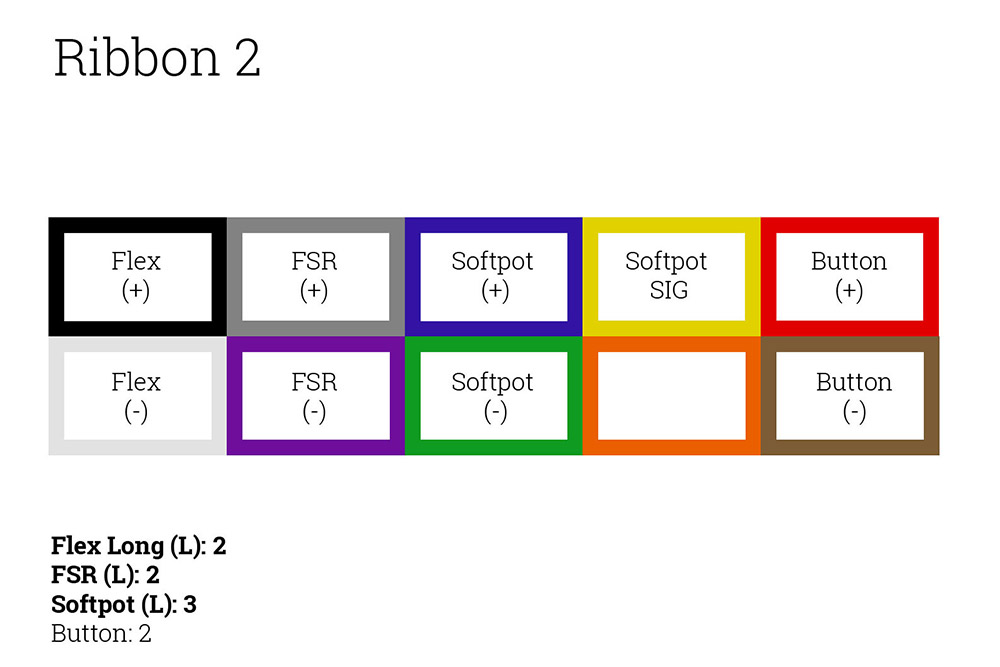
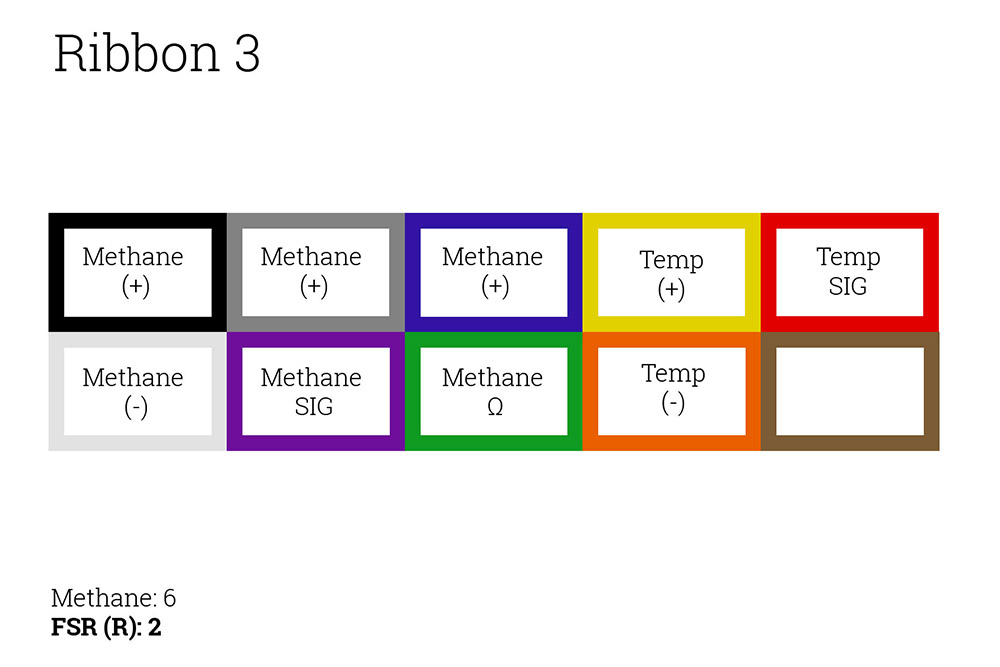
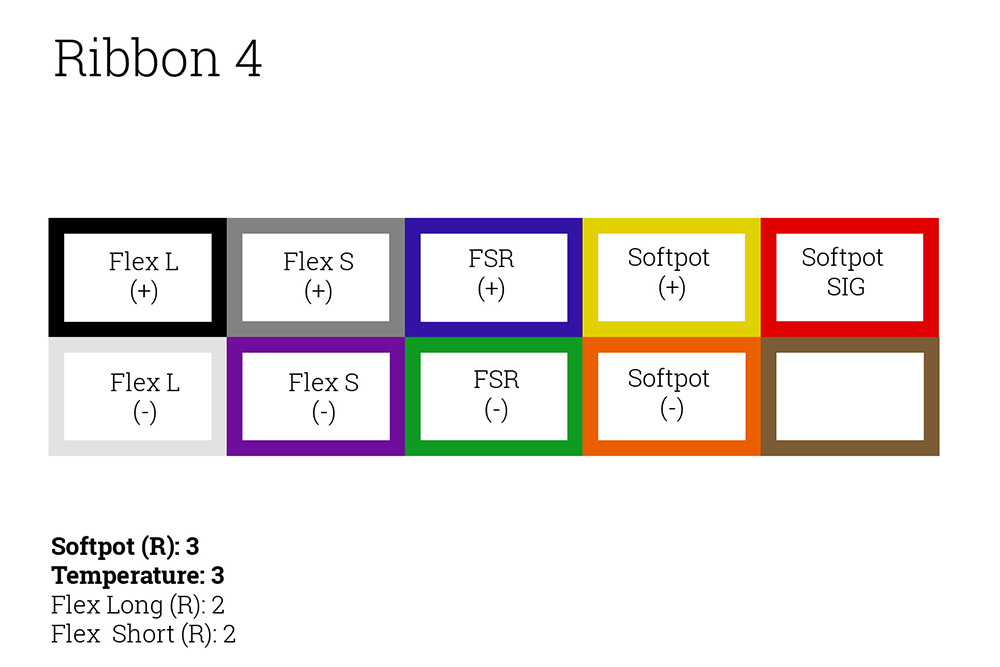
All together, the sensors needed 36 cables to operate and it is unfeasible to have each one going back to the arduino independently. I considered mounting the arduino underneath the seat but decided against it since troubleshooting a bad connection would be much harder if all of the cables were at the bottom of a chair. Instead, I grouped the sensors together and connected them to four 5′ long ribbon cables. The cables led to a box that contained the arduino and all of the other wires that were required to complete the circuit. The USB cable that connected the ardunio to the computer also led into the same box. Each cable’s connection is detachable and allows me to swap components and wires if any of the parts failed.
Ta Da!

Leave a Reply